
Gorse & Rush shares practical, down-to-earth guidance on uk countryside walks and wildlife for readers across the UK.
- 0123456789
- Angle Bd Abdelmoumen & rue soumaya, Résidence
- [email protected]
Gorse & Rush shares practical, down-to-earth guidance on uk countryside walks and wildlife for readers across the UK.
 By Sophie Bramble
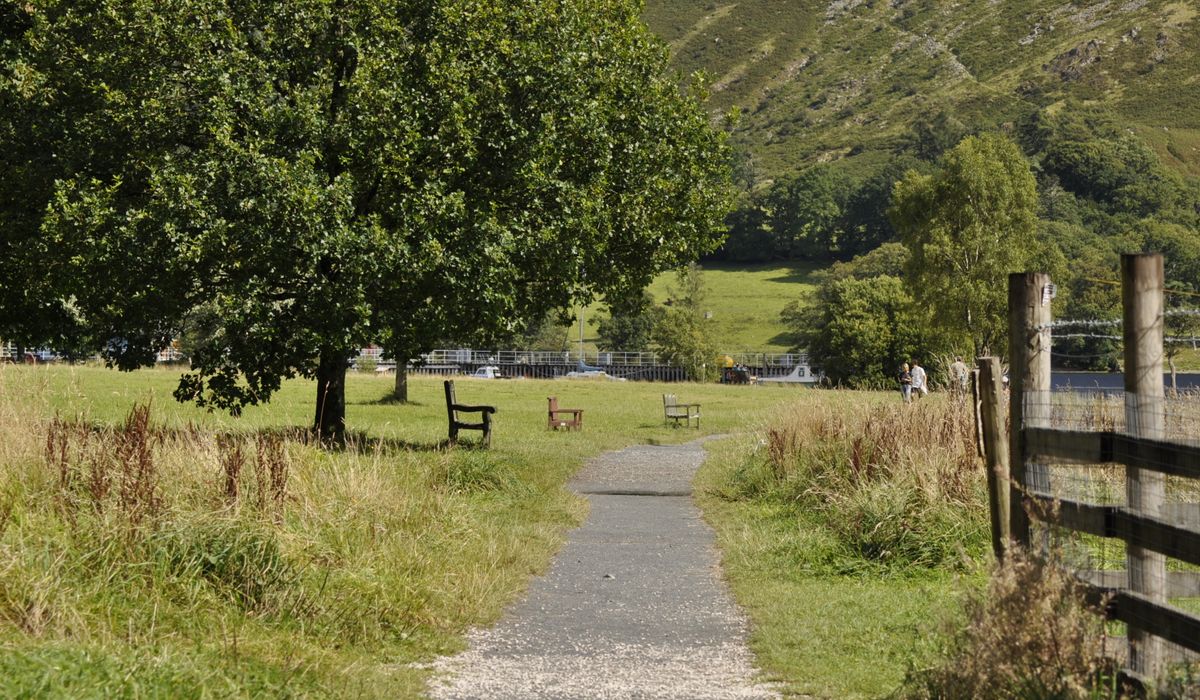
There is a quiet satisfaction in unfolding a paper map on a windy stile, weighing it down with a stone, and working out exactly where you are. Your phone might have died in the cold, or lost signal in a steep-sided valley, but a map and compass will still get you home. This gentle introduction will help you take your first steps in traditional navigation, practised on a footpath you already know well.
Batteries fail. Cold weather drains them faster. A cracked screen or a soaked pocket can end your digital navigation in seconds. A paper map and a baseplate compass weigh very little, need no charging, and work in any weather. They also teach you to read the landscape rather than follow a dot. When you navigate with a map, you notice contours, field boundaries, streams, and the shape of the land. That awareness makes you a safer and more curious walker. You will spot the badger path crossing the bridleway, or the kestrel hovering over a rough pasture, because you are looking up and around, not down at a screen.
Most UK walking maps use a scale of 1:25,000 or 1:50,000. At 1:25,000, every four centimetres on the map equals one kilometre on the ground. That is a good scale for footpaths, walls, and small woods. The blue grid lines are your reference. Each square is one kilometre at 1:25,000, or two kilometres at 1:50,000. The numbers along the edges let you give a grid reference. Contour lines show hills: the closer they are, the steeper the slope. Rights of way are marked in green or red dashes, but always check for stiles, gates, and seasonal closures on the ground.
A baseplate compass has a magnetic needle, a rotating bezel with degree markings, orienting lines inside the bezel, and a direction of travel arrow on the baseplate. Keep it away from keys, phones, and metal gates, which can pull the needle. In the UK, the difference between grid north and magnetic north is small, but it changes slowly. Check the margin of your map for the current figure and adjust if you are being precise. For most lowland walks, you can ignore it, but it is good practice to know it exists.
A bearing is simply a direction in degrees. To take one from the map, place the long edge of the compass baseplate so it runs between where you are and where you want to go. Make sure the direction of travel arrow points towards your destination. Hold the compass steady and rotate the bezel until the orienting lines inside it line up with the north-south grid lines on the map. Read the number at the direction of travel arrow. That is your grid bearing. To follow it, hold the compass flat in front of you. Turn your whole body until the red end of the magnetic needle sits inside the orienting arrow on the bezel. The direction of travel arrow now points along your bearing. Look up, pick a landmark, and walk to it. Repeat as needed.
Distance on the map is easy to measure. Use the romer scale on your compass, or a piece of string. Lay the string along your route, then measure it against the map's scale bar. For a rough estimate, count grid squares: each one is one kilometre at 1:25,000. On the ground, you need to know how far you have walked. Pacing is the traditional method. Count every double pace, that is every time your left foot lands. On flat ground, most adults take about 60 to 70 double paces per 100 metres. Uphill, your pace shortens; downhill, it lengthens. Measure a 100-metre stretch on a familiar path and count your own double paces. Write the number down. Then, when you need to walk 400 metres, you know how many double paces to count.
Choose a short circular walk you know well. Take your map and compass, and leave the phone in your pocket. At a gate, take a bearing to a distant church tower or a prominent oak. Follow the bearing, counting your paces. When you reach the oak, check the map. Did the distance match? Now try a leg where you cannot see the destination. Measure the distance on the map, set a bearing, and pace it out. You will make small errors, and that is fine. Navigation is a skill built on gentle repetition. Notice the wildlife as you go: the flash of a yellowhammer, the tracks of a deer in the mud, the call of a curlew over the moor. These are the rewards of moving slowly and paying attention. After a few outings, you will trust your map and compass as much as your own two feet.


We are not gonna make spamming
